
How to make a simple photo frame. This action by action tutorial reveals you how to make plywood and plexiglass frames to display shots or entertaining holiday break printables! 
These are definitely entertaining to make and exhibit your most loved shots, printables.
Or you can make them as a present!
Diy Custom Photo Frames
I am making use of these with Christmas printables for now but these will last but not least go on the white wall reverse the colorful accent wall in the youngsters&rsquo place.
With all that coloration going on, I wished to deliver in some heat wooden tones. but we have a incredibly exclusive established of newborn images of the young children that have been in their place for good! I asked them if they desired me to change them out but both unanimously agreed they nevertheless needed them!
We had been making use of plain white Ikea frames so I resolved to use this opportunity to create enjoyable frames and also use up some scrap plywood in the system. (There is a thing about the fulfillment you get from using scrap wooden&hellip)
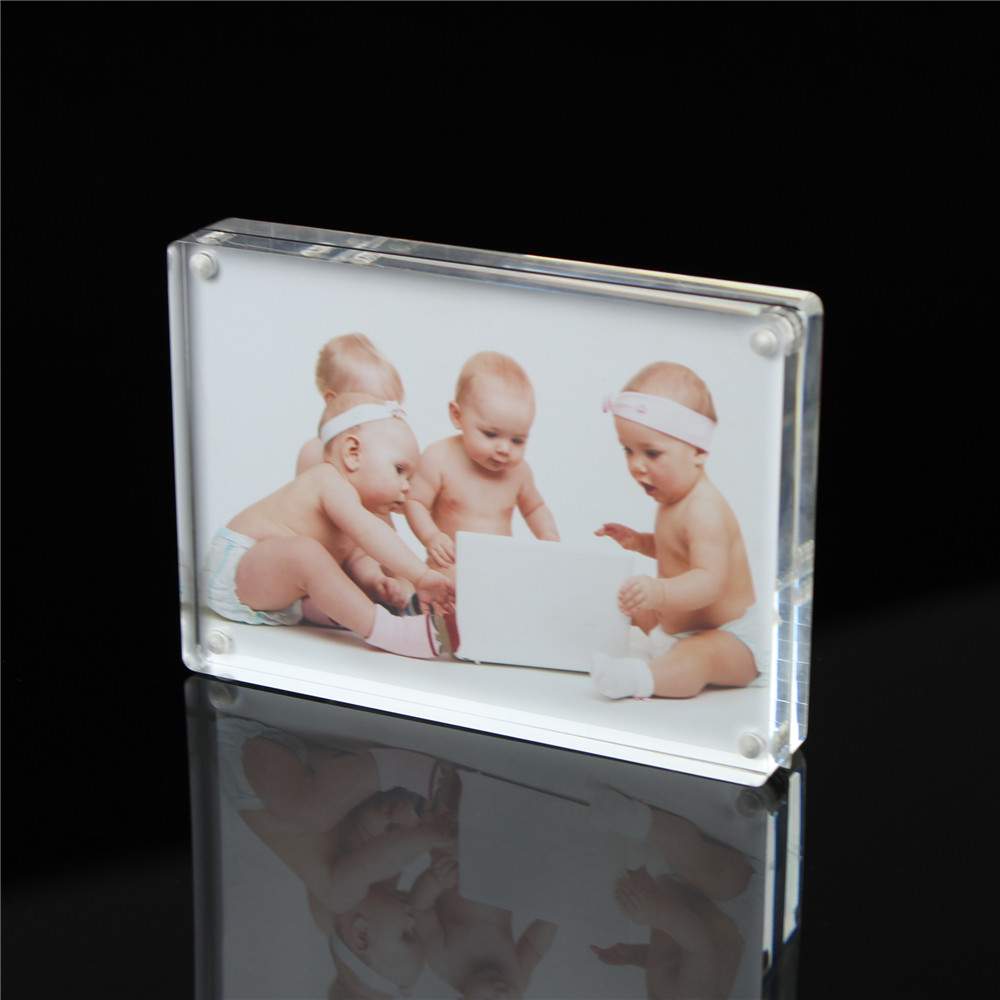
The shots can be easily switched out by just getting off individuals screws! I additional some succulent printables just for entertaining.
Rustoleum sent me their white and black wood grain enhancer to consider out and I love the result it adds.
Take a look closer! It&rsquos quite awesome! 
Resources required to make the simple picture frame:
- Plywood &ndash lower to dimension. I made use of 8&Primex10&Primary
- Plexiglass &ndash reduce to dimensions. I employed seven&Primex9&Key
- Masking tape
- ¾&rdquo wood screws
- Stain of your preference &ndash I utilized Golden Oak by Varathane
- White wood grain enhancer
- Black wooden grain enhancer
- Steel brush
- Straight edge and box cutter &ndash to minimize the Plexiglass
- (optional) BladeRunner X2 &ndash to slash the Plexiglass
- Drill
- Screwdriver
If you are a visible human being like me, right here are the dimensions &ndash 
Generating the frames is quite basic and straightforward. Having said that, I figured out a couple of matters performing with plexiglass for the initial time. I have highlighted that beneath. Just fork out focus to all those and creating these show frames will be a snap!
Listed here is the full online video tutorial on how t make the frames. The full written directions abide by.
How to make the wood and plexiglass frames &ndash
Action one &ndash Start by staining the plywood in the coloration of your preference. I used Golden Oak for the reason that it carefully matches the Hardwood flooring in the place.Stage two &ndash If you are working with the grain enhancer, wipe the surface area with drinking water to support pop the grain. When the floor is even now moist, scrub it with the steel brush. This is very crucial to get the grain enhancer to perform. Stage 3 &ndash Once the surface is dried, wipe it effectively and use the wooden grain enhancer against the grain. Wipe it off after a number of minutes with a light hand in the same way you utilized it.
Move four &ndash Get your plexiglass ready. To cut the plexiglass, you can use a straight edge and a box cutter to score 7-eight times and snap. It creates a quite clear slash. click here now desired to make 4 of the frames so I made the decision to deliver out my BladeRunner X2 which assisted make the process a little bit more rapidly.Phase five &ndash Measure the site and place the plexiglass on the plywood. I made use of masking tape to hold it in its place. Then I measured and marked the spots for the screws.
Phase 6 &ndash Use a drill little bit that is substantial more than enough for the screw to go by means of very easily. I made use of a five/32&Primary. Drill very bit by bit! The masking tape retains the plexiglass from cracking. The moment you strike the wood on the bottom, you will experience resistance. Cease when you have produced a pilot hole in the wood.Stage seven &ndash Place the picture or printable on the plywood. Use double-sided tape to keep it in spot. Eliminate protecting covering from the plexiglass and attach with the wood screw. It is important to use a manual screwdriver so you have management on the strain and how considerably the screw goes. If not, you can close up cracking the plexiglass.
 Add Sawtooth hangers on the again and dangle them up! 
The wooden grain enhancer provides a neat effect! I used the black wooden grain enhancer on two and the white on two.
I can&rsquot make your mind up if I like the black additional&hellipOr the white&hellip 

Add Comment